
Using High Lifetime Value Customer Data from Shopify to Improve Ad Targeting and Prospecting on Facebook
To improve your ad targeting on paid social media (i.e. Facebook and Instagram), you should ensure that your highest lifetime value customers are imported into Facebook and available for use as a lookalike audience to ensure high quality prospecting. (Please note, you should have over 1,000 customers to attempt this and see real value from the effort.)
If you use Klaviyo we recommend doing this through that software. If you have not yet connected Klaviyo to Facebook Advertising, please follow this tutorial instead.
If you don’t use Klaviyo, that is not a problem. You can export your full customer list, including purchase value from Shopify and WooCommerce. Below we will look at Shopify, but be aware the 4 steps are all very doable in WooCommerce as well.
Export Your Customers with Lifetime Value from Shopify
Here’s how you export customers from Shopify and then sort for value:
Login to your Shopify store environment
Click Customers in the left hand navigation
Then check the select all box in the area, ensure you select 50+ for all customers, and then click Export in the top section.
This will initiate a CSV download of all customers selected.
Now open a spreadsheet tool, such as Google Sheets.
Create a new sheet and import your CSV download of customers.
Select all of your table data. Create a pivot table. You can do this in Sheets by clicking Data – Pivot Table in the main navigation. You can import this to a new tab.
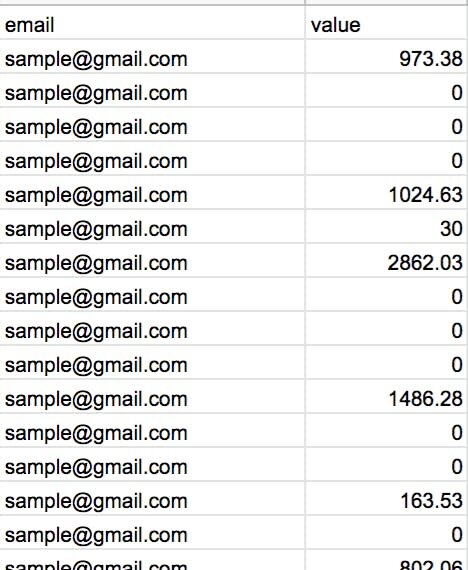
From there, you will want email address as your input. You will want to select Total Spent as your Values.
Take this data, copy it, and paste special as values only in a new tab.
Update the top row header of the columns to beand. This is import for the next major step when you upload to Facebook.
Sort the rows by value and determine your cut off point for what a high value customer is for you. Let’s say it is . Everyone below in value gets deleted.
Now export that tab as a CSV. You only want email address and value for Facebook


Uploading Purchaser Data Into Facebook Advertising
Now login to Facebook Advertising and choose from the top left navigation
Choose Create – Custom Audience from the left blue button.
Select Customer list in your pop up window and click the Next blue button, and then the radio button Yes for the value question, and the terms.
Choose your CSV file from your previous pivot table set of steps. And add a description to help your remember what makes up the table data, i.e. customers over in orders
Once you choose to upload, the data should map cleanly into Facebook. If all looks good, click Upload and Create.
Success! Now you should click the Create Lookalike blue button.
Your source should be pre-filled. Select your (typically USA for us) and choose your audience size. Generally, the smaller % of your sample, the closer the list will adhere to your type of customer.
Pro tip:
Don’t be afraid to make a few lookalike audiences with the drop down toggle and test out a variety of percentages. Some may surprise you!


There you have it! You are ready to select this audience in the Ads Manager portion of your Facebook campaign and start targeting some new customers that have similar traits to your top customers!